Teachers often hear about math rotations and think, I’d love to try that… but how?
Math rotations can feel overwhelming. You have to plan multiple rotations, manage behavior, and somehow find time to prep everything. It’s easy to feel like it’s just too much.
But it doesn’t have to be that hard. Today I’m sharing the simple math rotations schedule I’ve used in my 2nd and 3rd grade classrooms for the last 15 years.

Why Math Rotations Don’t Work (At First)
I’ve seen the same situations over and over:
- Teachers try math rotations once → it feels chaotic → they give up
- Too many activities are planned → students get confused → behavior increases
- There’s no consistent structure → students don’t know where to go or what to do
- Rotations are too short or too long → students either rush or lose focus
The problem usually isn’t math rotations. It’s that the schedule is too complicated to maintain.
My Simple and Realistic Math Rotation Schedule
The biggest reason this works is consistency. I use the same 4 rotations every day so students always know what to expect.
Rotation 1: Teacher Time
Students come to the small-group table to work on the skill of the day.
Everyone is learning the same skill, but this is where I can differentiate the most and support struggling students.

Rotation 2: Seat Work
Students independently practice the skill of the day while also completing problems that include spiral review.
This keeps skills fresh without needing extra lessons or extra planning.

Rotation 3: Math Game
Students play a partner or small-group game.
I don’t introduce new games every day. Instead, I rotate through a few games we already know how to play. This saves planning time and keeps behavior problems low because students already know what to do.
Rotation 4: Tech Time
Students use their computers to practice math skills.
Because this rotation stays the same, students know how to log in, what to do, and how to complete the activity. The predictability makes a huge difference.
What This Looks Like in a 60-Minute Math Block

Here’s the timing I use in my classroom:
- Mini-lesson → 5 minutes
- Explain rotations → 3 minutes
- Rotation 1 → 10–12 minutes
- Rotation 2 → 10–12 minutes
- Rotation 3 → 10–12 minutes
- Rotation 4 → 10–12 minutes
- Closing/share time → 5 minutes
The key is balance. Too short and students can’t get started. Too long and they lose focus.
Why This Schedule Works
This routine works because it’s predictable and easy to maintain.
Students know:
- where to go
- what to do
- how long they have
- what happens next
For me, it makes planning much easier because I’m not creating something new every day. I’m just plugging in a new math skill into the same routine.
How to Start Without Feeling Overwhelmed
If math rotations feel intimidating, start small.
- Start with 2 rotations for a few days
- Then move to 3 rotations
- Finally move to 4 rotations
At the beginning, don’t pull small groups yet. Use that time to walk around, reinforce expectations, and make sure students understand the routine. After a few days, you’ll be able to confidently pull groups because students will know exactly what to do.
Want Help Planning Your Rotations?
I created a free Math Rotation Planning Page to make getting started easier.

It helps you:
- plan each rotation
- map out your lesson from start to finish
- plan how you’ll differentiate during teacher time
Click here to grab the free planning page and make math rotations easier to start this week.
More Math Rotations Info:
Watch My YouTube Series About How to Start Math Rotations
Shop 3rd Grade Math Rotations Seat Work
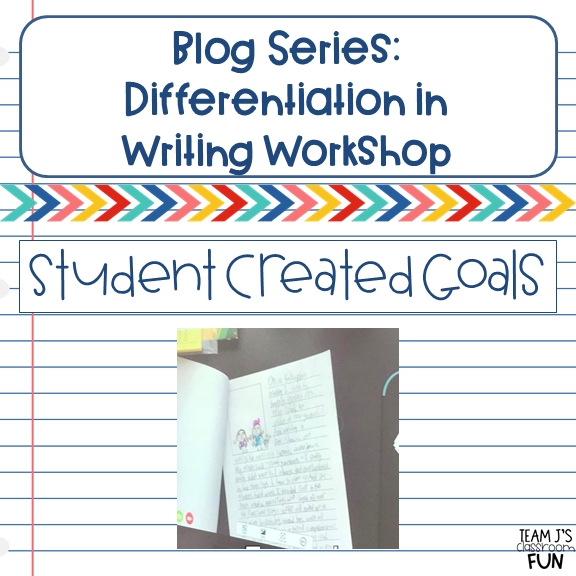
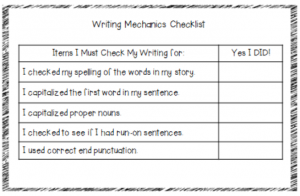
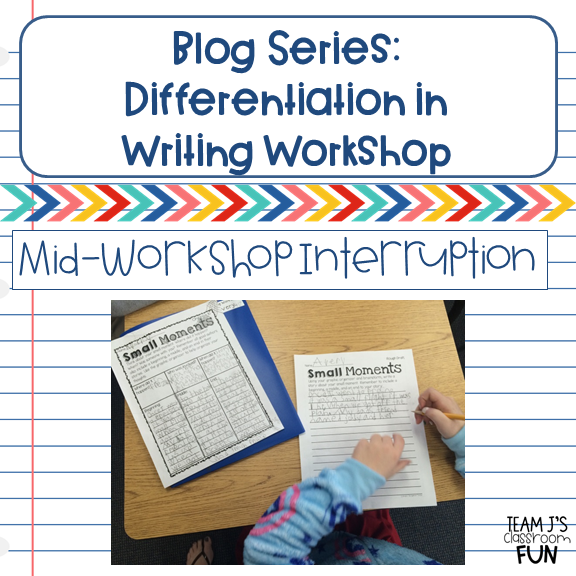
 Lucy Calkin’s Units of Studies has specific lessons geared towards students coming up with their own goals. There are checklists, mini-lesson ideas, etc. You can do this without Units of Study too. First, come up with a few areas that you have been focusing on. For example, sequencing, adding details, staying focused on a small moment, etc. Create a little checklist with those items on it. Students will then take the checklist and their writing piece and work with a partner. They can read the story to each other and go through the checklist marking areas that they are doing well with and areas they need to work on. From there have each child pick one area that they want to focus on as their current writing goal.
Thank you so much for checking out my Differentiation in Writing Workshop blog series! See below to catch up on past posts.
If you missed my past tips from the Differentiation in Writing Workshop series, click below…


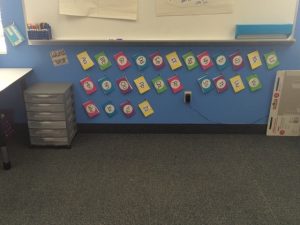
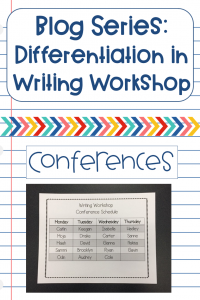 Conferencing is one of the easier times to differentiate Writing Workshop. I have a schedule I use (see below) and call students back on their particular day. They bring the piece they are working on or one we looked at the last time we met and we look over it together. This is a great chance to talk about student specific goals, see what goal the child wants to have, and talk about the positives you see in them as a writer. These opportunities also show me areas where they can grow as writer, which often leads to us creating new goals.
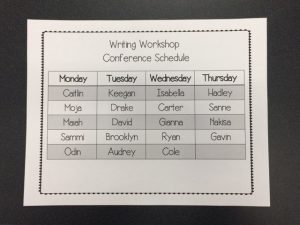 Do you conference with students during writing? If so, share your thoughts on it down in the comments.
Check back tomorrow for the final installment where I share about students creating their own goals to help differentiate Writing Workshop.
If you missed my past tips from the Differentiation in Writing Workshop series, click below…








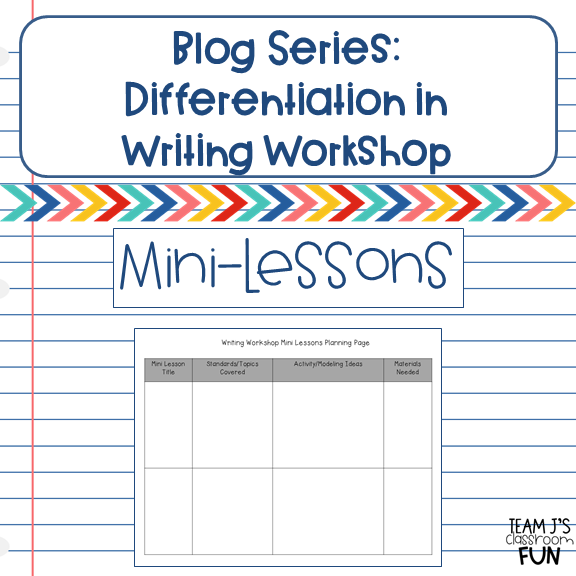
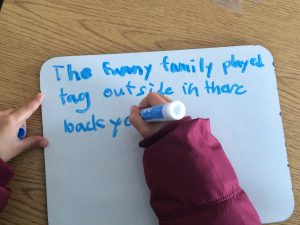

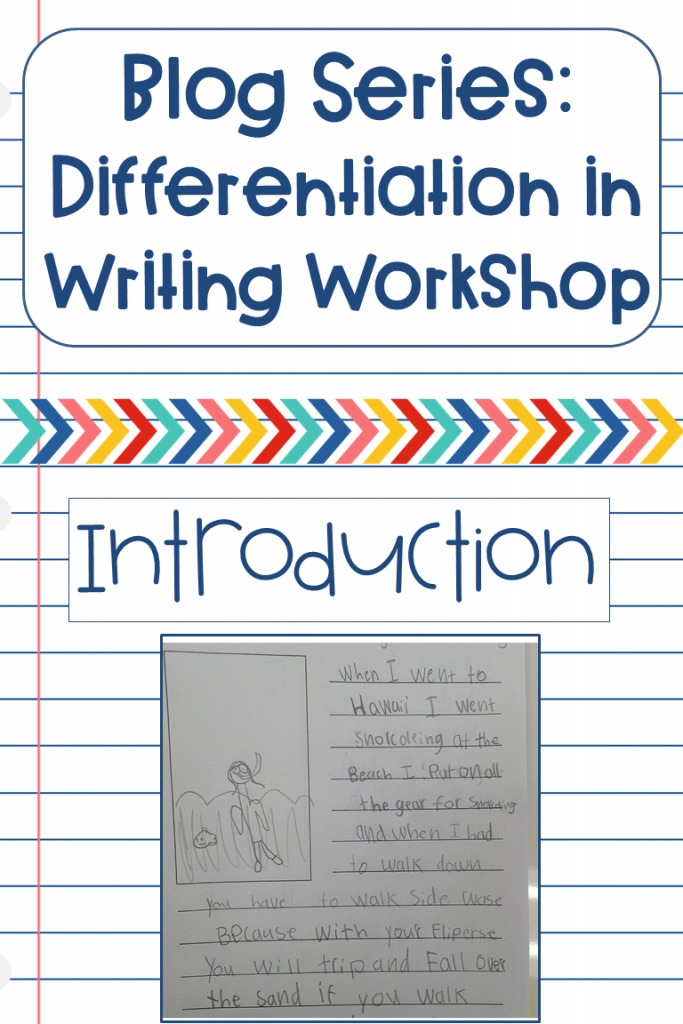
 If you use Lucy Calkin’s Units of Study, she has pre-test ideas in the Writing Pathways book. She calls them On-Demand Performance Assessments. If you don’t have the Units of Study, you can still have your students complete a writing sample/pre-test. At the beginning of the year, I have my students write about themselves on the page below.
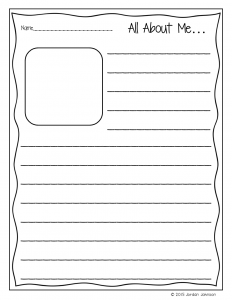 From this writing sample, I can learn a lot about each student. For example…