Writing
FREE Writing Checklists
To make your life easier I have a FREE set of writing checklists for your students to use! These are geared towards the primary grades and include 8 different checklists – so you’ll be able to differentiate based on what you’re teaching and your students’ needs. Grab your writing checklists HERE.FREE Writing Checklists
To make your life easier I have a FREE set of writing checklists for your students to use! These are geared towards the primary grades and include 8 different checklists – so you’ll be able to differentiate based on what you’re teaching and your students’ needs. Grab your writing checklists HERE.


FREE Writing Checklists
To make your life easier I have a FREE set of writing checklists for your students to use! These are geared towards the primary grades and include 8 different checklists – so you’ll be able to differentiate based on what you’re teaching and your students’ needs. Grab your writing checklists HERE.- Brainstorming Ideas – I often use a circle map. I put the word “ideas” in the middle circle and start brainstorming ideas for the larger circle. I model how to do this and try to pick examples from when I was a child that I know kids will relate to. I explain that they are all things I’ve done or experiences I’ve been through. Some examples include – riding a bike for the first time, trip to Disneyland, seventh birthday party, first day of school, field trip to the zoo, etc. The nice thing about coming up with a big brainstorming list is that as kids finish stories they have something to get ideas from if they don’t know what to write next.
- Filling Out Graphic Organizer – As I mentioned I used the Small Moments Writing Pack from Leigh Langton. I also modeled how to take one of my ideas from the circle map and how to fill in the graphic organizer to plan my story. I always point out to the kids that this isn’t the draft. This is their chance to map out what they’re going to write. I don’t require complete sentences or it to be totally filled in. They just need enough to help them plan their story.
- Model How to Write Draft from Graphic Organizer – This is another big one. I normally model this a time or two or more as needed. Kids need help fleshing out their story from the graphic organizer. We don’t want kids to just copy what they planned and call that their draft. We want them to flesh their story out and add details. I model this one very slowly…
- Capitals – To teach capitals, which is normally more of a review in second grade, we started by watching a Brainpop Jr. clip. Brainpop has many wonderful clips and it’s a fun way to start a writing lesson. Then, as a class we created an anchor chart. This anchor chart shows times and reasons why we need to use capital letters. On a separate day, after working on capitals for a few days, I had the kids look at one of my writing pieces and help me edit it. When we edited it, we only focused on capitals. They love being helping the teacher fix her writing :-).
- End Marks – I teach end marks a similar way to capitals. We started by a review video on Brainpop. Then, we created an anchor chart covering the three different end marks. I like anchor charts because they are created together with the class and then displayed on the wall so the kids can refer back to them (and they really do). Then, again, I had a writing piece about a class activity that the kids helped me correct. When they are helping me correct, it makes it easier to suggest that the focus that day be “look through your paper – did you get all the end marks?”
- Adding Details – For adding details, this is a big focus at the beginning of the year. Some students like to write the bare minimum and be done. For this one, I show them two examples of the same story. I then ask them to be the teacher and tell me, which story is better and why. We then talk suggestions for how I can improve the one that wasn’t as good. During share time, when the focus is details, I pick students to share who have really added some strong details to their story. The more exposure kids have to it in mini-lessons and share, the more likely they are to do it in their own writing.
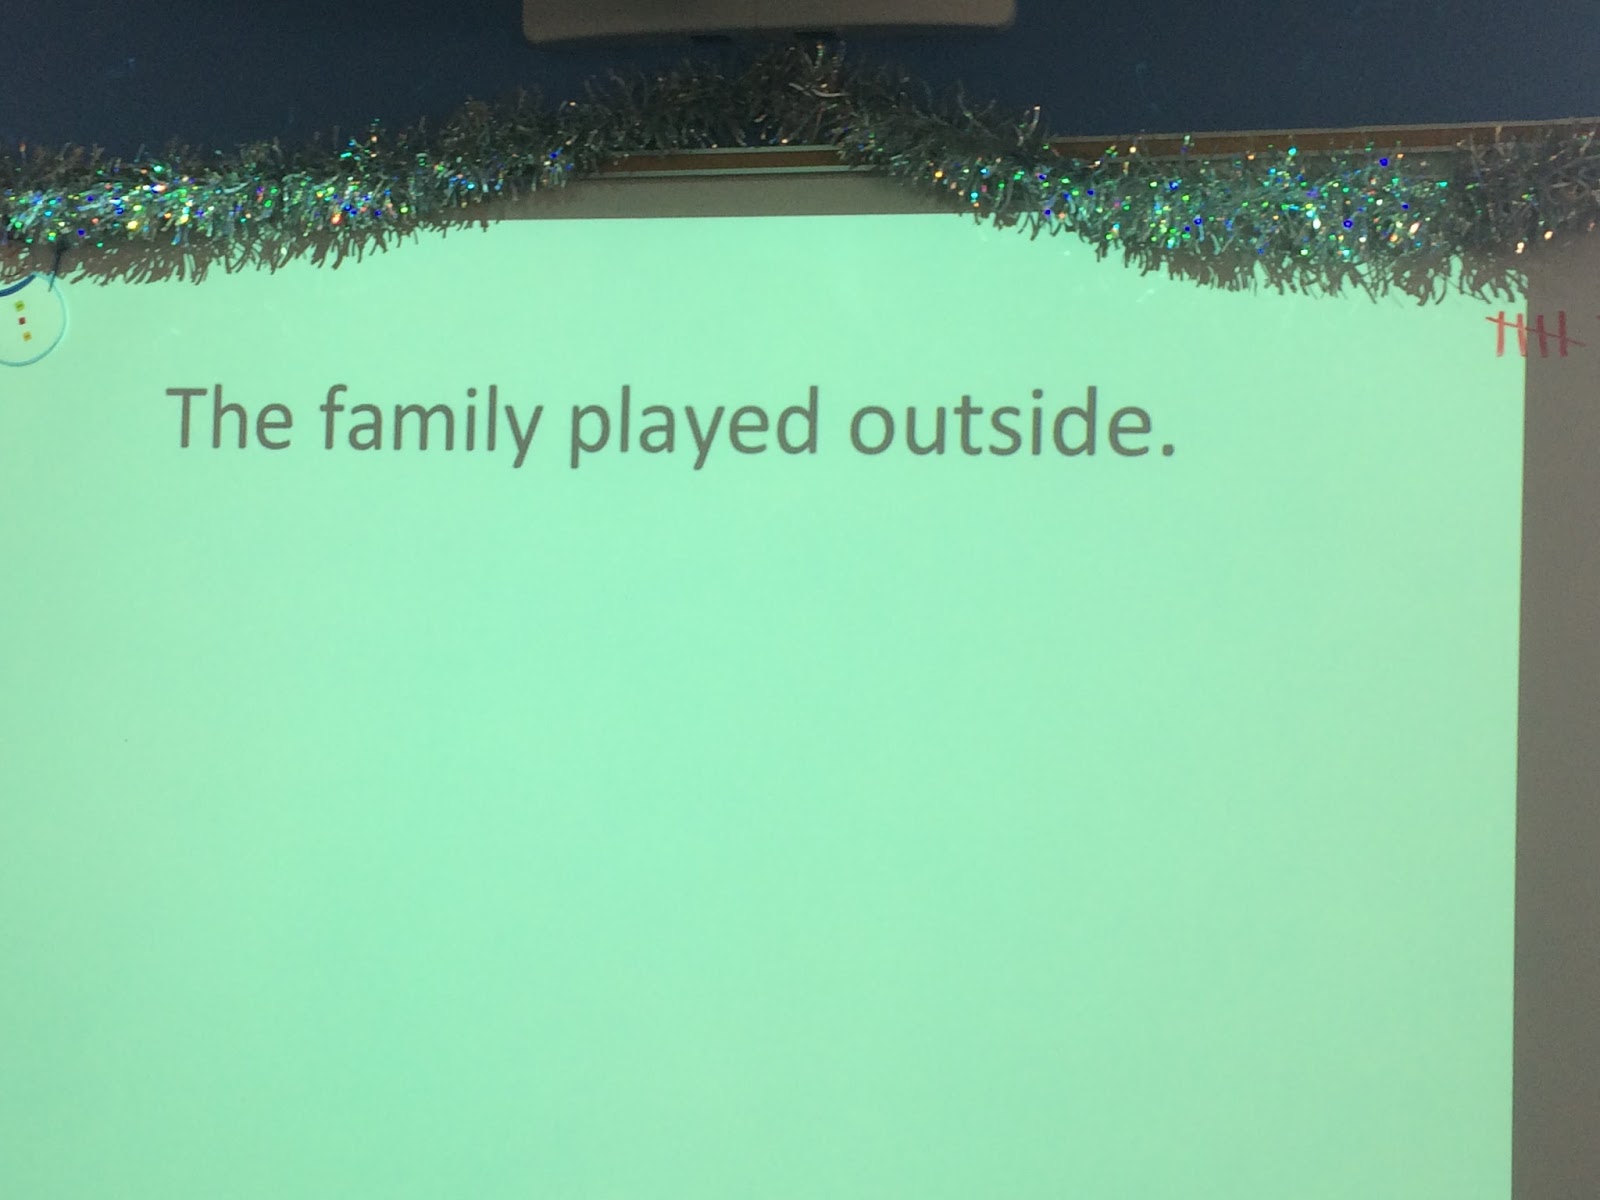
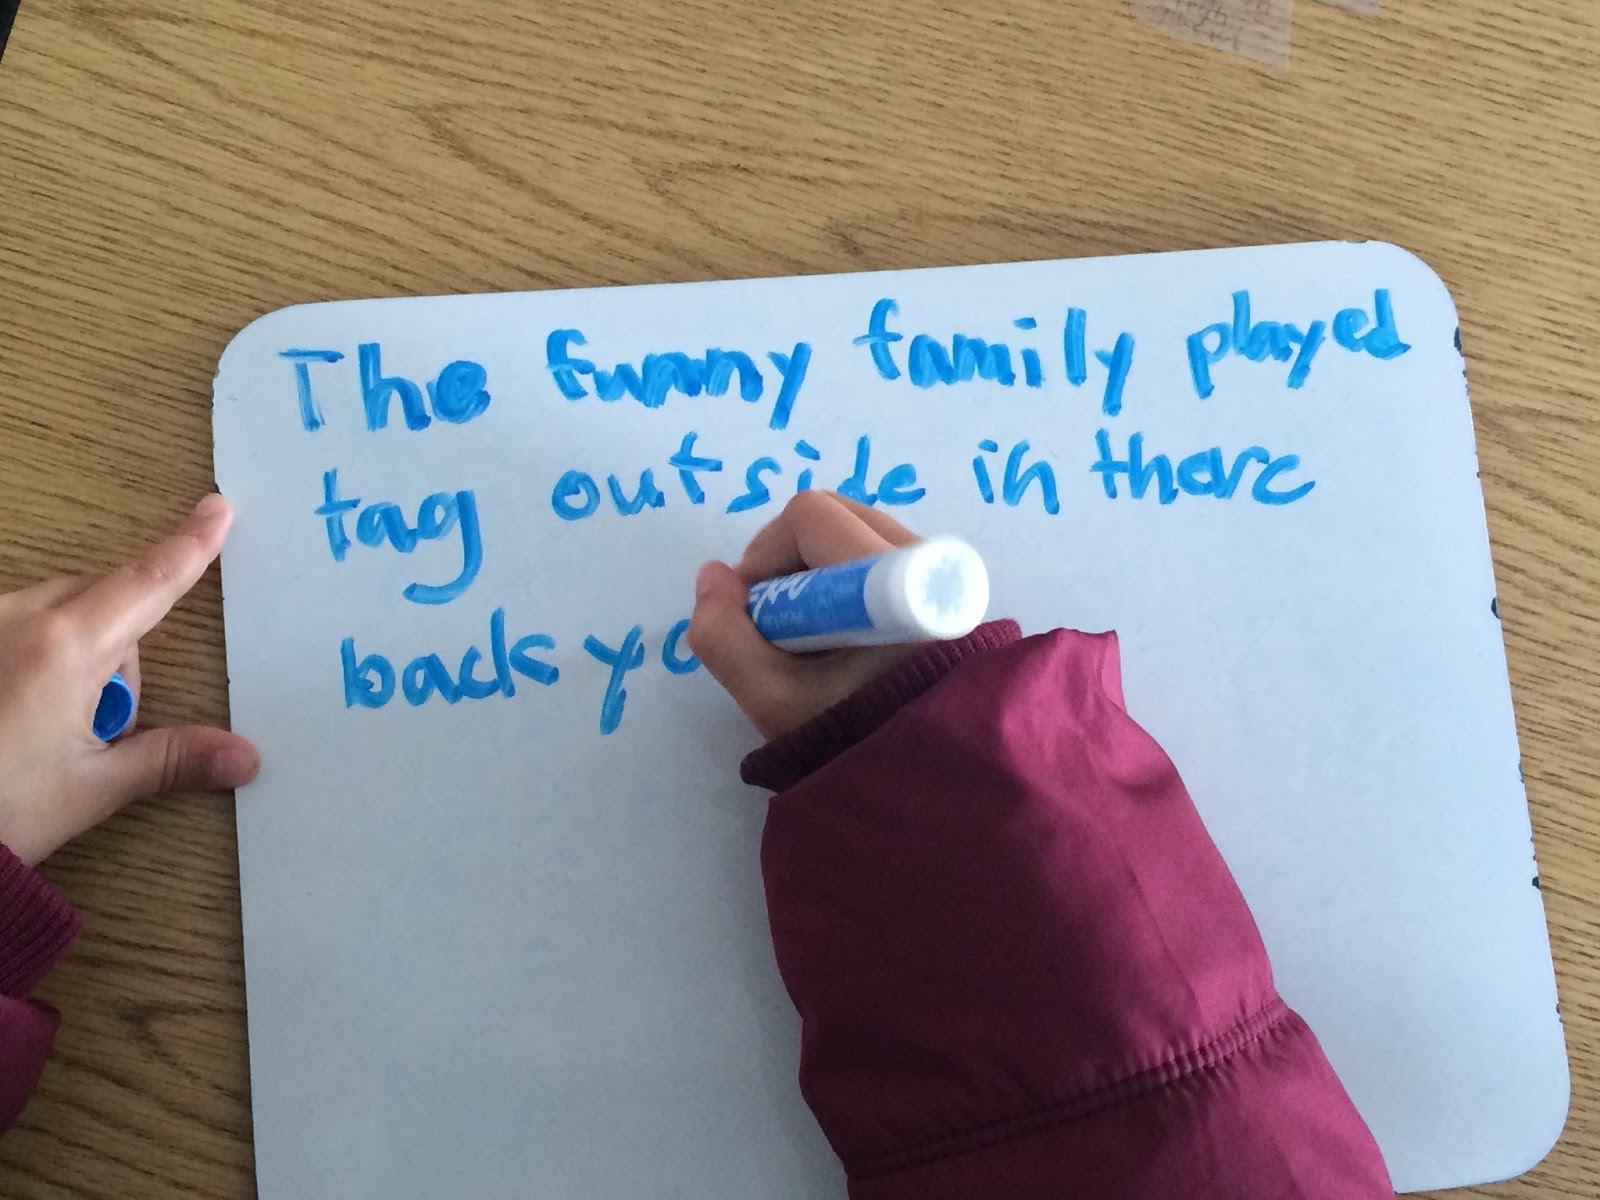
- Word Choice – This was one of my favorite mini-lessons. I started with a whole group activity. I gave them the sentence “The dog ate.” We discussed how this is a sentence, but it really doesn’t tell us much and it is very exciting. They then helped me create a few different ideas for how to make it better. See examples below. Then, the next day, I put a sentence up on the projector and the students made a better sentence on their white boards. This activity went so well!! They loved being creative and in turn it helped them improve word choice in their own writing pieces during writing time.
- Commas – Commas was another area where we started with Brainpop and then moved on to the anchor chart. Some of the kids got it right away and I also implemented it in our Friday Fix-It Morning Message.
FREE Writing Checklists
To make your life easier I have a FREE set of writing checklists for your students to use! These are geared towards the primary grades and include 8 different checklists – so you’ll be able to differentiate based on what you’re teaching and your students’ needs. Grab your writing checklists HERE.- Mini-Lesson
- Time for kids to write
- Conferring with students
- Sharing

FREE Writing Checklists
To make your life easier I have a FREE set of writing checklists for your students to use! These are geared towards the primary grades and include 8 different checklists – so you’ll be able to differentiate based on what you’re teaching and your students’ needs. Grab your writing checklists HERE.- Folders – Each student needs their own folder that is only for Writing Workshop time. Inside the folder, put in two labels. On the left side they label can read – Finished, Done, red sticker for little kiddos. On the right side the label can read – Still Working, Not Done, green sticker for little kiddos. The red and green work well for non-readers, red meaning I’ve stopped working on this piece and green meaning I’m still going. You basically want one side of the folder for kids to be able to put pieces that they are finished with. The other side of the folder you want students to put pieces they are still working on.
- Place to keep the folders – I choose to keep my folders in Lakeshore’s All Purpose Teacher Organizer. It can be purchased at Lakeshore for $59.99. Target also has bins that would work and there are many places now that make book bins that will hold folders. I like the Lakeshore one because it has a spot for each part of the writing process. I have my bins labeled – pre-writing, draft, editing, publishing, finished. When the kids put their folder away, they put it in the bin of the step that they are on. It’s a great way for me to quickly check and see who is on what step of the writing process. It’s also a good way for kids to know the steps of the writing process and be able to identify what step they are in throughout the week.
- Place to keep writing paper – I use a Sterilite Plastic Drawer set from Target. You can use many different things to hold your writing paper. I just recommend having more than one drawer or compartment. You’ll want to offer a few different types of paper to writers and need a way to keep it separate and organized.
-
- Paper – Here are a few different options –
-
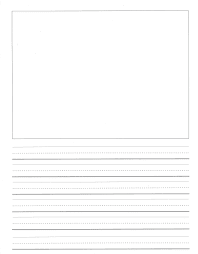
- If you and/or your school has the Lucy Calkin’s Units of Study Writing Workshop program there is a disc with many different types of paper. I recommend following Lucy’s instructions about what paper to use during what time of the year, but I also recommend offering up a few different types. When I taught first grade, we had booklets (three pages stapled together). Some pages had one line with a big space for pictures. Some pages had 4 lines with a smaller space for a picture, etc. The nice thing about this is that it presents the writers (students) with a choice (differentiation). Each writer can use what paper works for them. As the year goes on and we want the kids to be writing more, the paper choices will change and offer up more space for writing and less space for pictures.
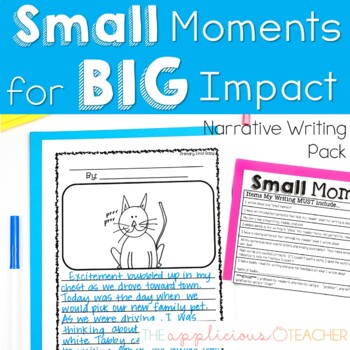
- If you don’t have the Lucy Calkin’s books at your school, I highly recommend the Small Moments Writing Pack by the Applicious Teacher (Leigh Langton). I used this pack when I taught 2nd grade at a school that didn’t have the Lucy Calkin’s materials. I liked the pre-planning pages and I love that she offered up a few different writing page options depending on your students and their abilities.
-
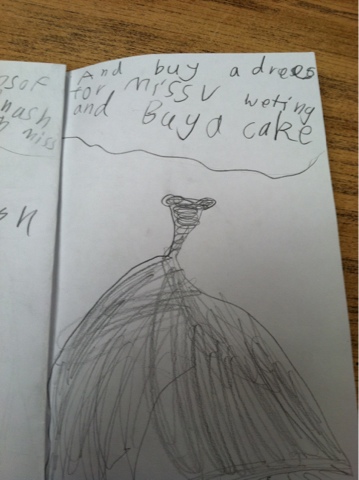
- Booklets – I also used booklets when I taught first grade a few years ago. They were pretty easy to make and I could again adjust the number of lines and picture space to offer more options. About the Authors recommends the booklets because it helps the kids feel like real authors since they are writing in a booklet like the books they see. Below is an example – towards the end of the year I also offered booklets with blank pages. This allowed kids to be creative with where and how they put their text and pictures. Here’s a funny story a student wrote about me…I was a huge Suns fan and Steve Nash was my favorite player. So, she decided I would marry him lol
-
- If you google or look on Pinterest, there are also many other paper types. Again, make sure you have a variety so every writer will have an option that works for them.
- Resources – I already mentioned this two amazing resources last week.
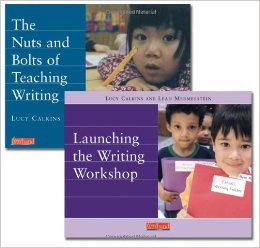
- Lucy Calkin’s Units of Study materials are amazing. She now offers them by grade level and they are tied in with the Common Core standards. In the Units of Study, you will have various topics (Narrative, Opinion, Informational, Poetry). You will also have mini-lessons provided for you that are written as they are taught in actual classroom. It makes it very easy to teach mini-lessons because the book offers a great format and step by step directions for each lesson. It could be scripted, but I recommend reading the lesson and making it your own. This program is expensive, but definitely worth it.
- For a less pricey option, with still a lot of bang for your buck – I also recommend About the Authors by Katie Wood Ray and Lisa Cleveland. This book can be found on Amazon and is much more affordable. In this book, they have ideas for mini-lessons, writing paper ideas, set-up ideas, etc. Great book especially for K-2 teachers. This is where I got the writing booklet that looks like a book idea that I mentioned above in paper choice.
FREE Writing Checklists
To make your life easier I have a FREE set of writing checklists for your students to use! These are geared towards the primary grades and include 8 different checklists – so you’ll be able to differentiate based on what you’re teaching and your students’ needs. Grab your writing checklists HERE.I’m a huge believer in the Writing Workshop model and one main reason is because it focuses on getting kids to write. Gone are the days of every word needs to be spelled correctly. Gone are the days that kids are scrutinized for missing a comma. Now, these things are important. These things are also a part of writing. But, they are not the end all be all. When I was a kid, I don’t remember writing much until middle school. I know I did, but it doesn’t stand out to me. I think part of it is because we weren’t allowed to just write. Everything was so focused on the sentence structure being perfect and each punctuation mark being just so that it didn’t feel like writing. It felt like a lot of work.
Again, let me reiterate. I’m not saying grammar and spelling aren’t important. Neither are Lucy Calkins, Katie Wood Ray, or Lisa Cleaveland. I’m just saying we need to give kids a chance to just focus on writing. Since I’ve been using this model I have seen so much growth in my student’s writing. Even those reluctant writers who you are lucky to get a few lines from – I’ve seen growth. Writing Workshop is about allowing kids to write and be at the level they’re at. If kids are so stressed about how to spell the word “Florida” then their story stops. If kids spell it the best they can and keep going, then we’ll see more actual content. Which is the whole goal of writing to me. Content not perfection. Especially in the early elementary grades.
- Differentiation – Writing Workshop allows kids to work at their own pace. Johnny may have edited and published five stories and be beginning number six. Susie on the other hand might be a slower writing and working on publishing her first piece. With Writing Workshop kids don’t have to be on the same page or even the same piece. They’re able to work at their own speed and you as the teacher are able to tailor personal goals to what each student needs during conferencing.
- Content – Writing Workshop focuses on content not perfection. I also like that Writing Workshop allows kids to just write about what they want. There are no prompts in Writing Workshop. While prompts have their time and place, and students need to be able to write to a prompt, during Writing Workshop, kids write about what they know and have experienced. They can write about learning to ride a bike, their trip to the beach, going to Disneyland, losing a tooth, a class field trip, etc. They have choice in their content, which makes writing more enjoyable and you will see them more engaged during the writing time.
- Modeling – Another huge focus in Writing Workshop is modeling. Kids need to see how writer’s write. They need to see how they can come up with ideas. They need to see how to edit. And the best way to do this is through modeling. Often it’s the teacher modeling with his or her own writing. It also is bringing up other students to model skills taught during Mini Lessons during sharing time. Modeling is a very important step in Writing Workshop.
- Mini-Lessons are Tailored to Standards – Whether you are using the actual Lucy Calkin’s Writing Workshop resource or you’re doing this on your own (I’ve done both), you can tailor Writing Workshop to your standards. When I was creating lessons on my own and using the format, I picked standards and made mini-lessons to fit them. I also would notice things my students were doing and then create mini-lessons based on areas we needed to work on. For example, my students especially at the beginning of the year had a hard time adding details. Their stories were very short. So, we focused a few lessons on adding details and they then had a chance to practice it during the writing time.
- Kids Love It – Kids love Writing Workshop. I once went to a school where they didn’t have a writing resource and I implemented Writing Workshop using the format and then creating my own mini-lessons. The kids ate it up! They were so excited for Writing Workshop time during the day. I also saw major improvements in their writing and less stress. Many of the kids since this was new were so fixated on making their writing perfect that the content was lacking. As they became more comfortable with the process, I saw major growth and they actually enjoyed writing.
-Writer’s Workshop Set-Up and Products Used
-Typical Writer’s Workshop Format
-Mini Lesson Ideas
-Teaching Editing
-Publishing Pieces
-Tying Up Loose Ends
I am starting a new series on my blog called Writing Workshop Wednesdays. This is a series that has been on my to do list for awhile and with summer here it’s the perfect time to write it up! I’ve been using Writing Workshop in my classroom for the past 9 years and have used it a variety of different ways. I’ve had the Lucy Calkin’s materials (which are amazing) and also had to wing it a bit using the format and my own resources.
Here’s what you can expect over the next few weeks in the Writing Workshop Wednesday series:
– Why Writer’s Workshop – July 6
-Writer’s Workshop Set-Up and Products Used – July 13
-Typical Writer’s Workshop Format – July 20
-Mini Lesson Ideas – July 27
-Teaching Editing – August 3
-Publishing Pieces – August 10
-Tying Up Loose Ends – August 17